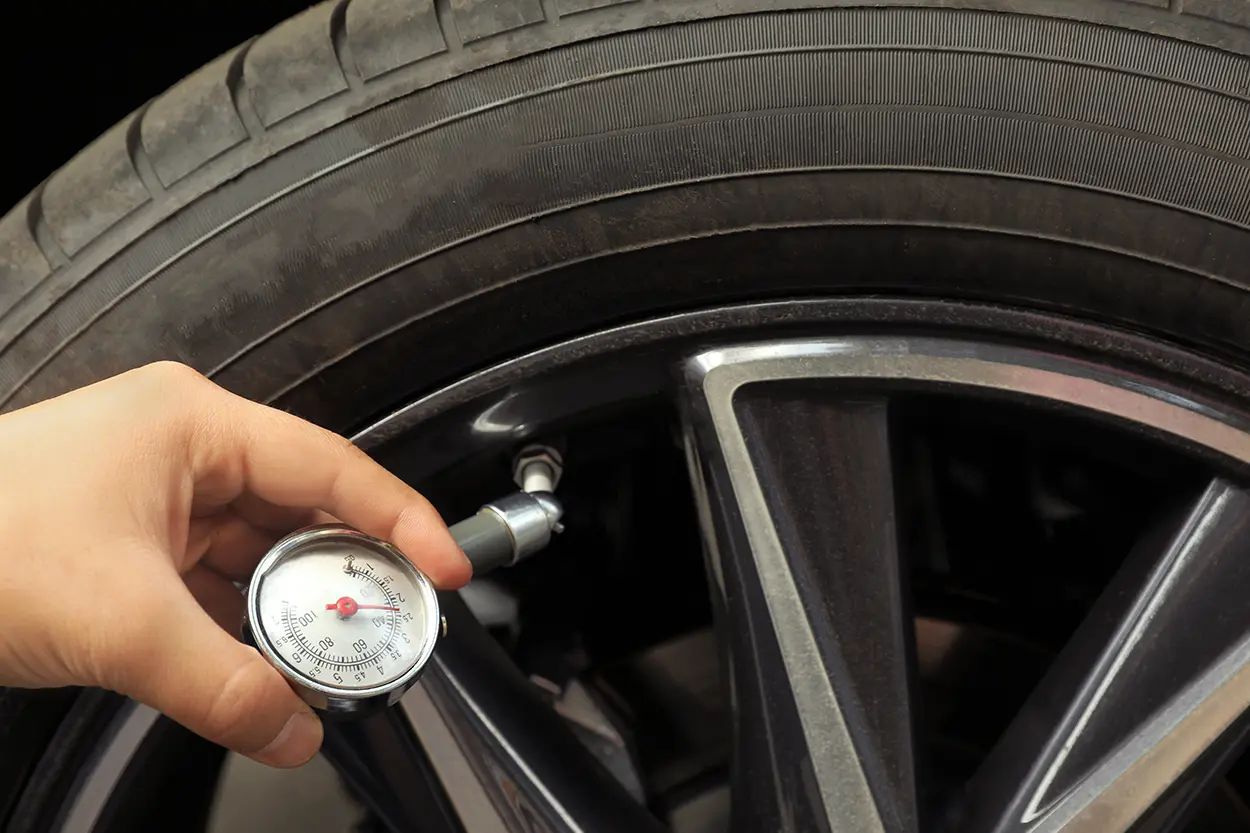
How to Check Tire Pressure and Read Tire Sidewall Numbers
Your tires are the only part of your vehicle in contact with the road, yet tire pressure and tire condition are among the most commonly neglected aspects of routine vehicle care. Knowing how to check tire pressure correctly and how to read the numbers on your tire sidewall gives you meaningful information about your vehicle’s safety, fuel efficiency, and when tires need to be replaced. This guide covers both skills in plain terms, no automotive background required.
Why Tire Pressure Matters
Driving on improperly inflated tires causes several problems:
- Underinflated tires increase rolling resistance, which reduces fuel economy. They also overheat more quickly, wear unevenly on the outer edges, and are more prone to blowouts at highway speeds. The National Highway Traffic Safety Administration reports that underinflation is a contributing factor in thousands of tire-related crashes annually.
- Overinflated tires reduce the tire’s contact patch with the road, decreasing traction. The center of the tread wears faster, and the tire is more susceptible to damage from road hazards like potholes.
Neither condition is safe. Correct inflation is a simple, free maintenance step that directly affects vehicle safety and costs nothing but a few minutes of your time.
What Is the Correct Tire Pressure for Your Vehicle?
The correct inflation pressure for your tires is set by your vehicle manufacturer — not by the tire manufacturer. The recommended pressure is printed on a label inside the driver’s door jamb (the edge of the door or door frame area), and also in your owner’s manual. The number is expressed in PSI (pounds per square inch).
Ignore the maximum PSI number printed on the tire sidewall. That figure represents the maximum pressure the tire can safely hold, not the recommended pressure for everyday driving. The door jamb sticker is the correct reference for your vehicle.
Front and rear tires sometimes have different recommended pressures. The label on the door jamb will specify if they differ. Newer vehicles with Tire Pressure Monitoring Systems (TPMS) will alert you when pressure drops significantly, but TPMS thresholds are typically set well below the recommended level — do not rely on a TPMS warning alone as your tire pressure management strategy.
How to Check Tire Pressure: Step by Step
What You Need
A tire pressure gauge. Digital gauges are the easiest to read and available for under $15. Stick gauges and dial gauges also work well when used correctly. Many gas stations have air pump equipment with built-in pressure gauges.
When to Check
Check tire pressure when the tires are “cold” — before you have driven more than one or two miles. Driving heats the air inside the tire and raises the measured pressure, making warm tire readings inaccurate. The best time to check is first thing in the morning before you drive the car.
The Process
- Remove the valve stem cap from the tire (the small rubber or metal cap on the wheel rim). Keep it in a pocket so you do not lose it.
- Press the gauge firmly and straight onto the valve stem. You may hear a brief hiss of air — this is normal as the gauge seats. If air continues to escape, the gauge is not seated properly.
- Read the pressure displayed on the gauge.
- Compare the reading to the recommended pressure on the door jamb sticker.
- Add air if the pressure is low, or release air (using the small pin in the center of the valve stem) if it is significantly overinflated.
- Replace the valve stem cap.
- Repeat for all four tires, including the spare if applicable.
Recheck after adding air to confirm you have reached the correct pressure. Tire gauges at gas stations are frequently inaccurate due to heavy use and exposure to weather. Your own digital gauge will give more consistent results.
How Often to Check Tire Pressure
Check tire pressure at least once a month. Also check it any time the outside temperature changes significantly — tires lose or gain approximately 1 PSI for every 10-degree Fahrenheit change in ambient temperature. In winter months especially, tires that were properly inflated in fall can drop several PSI just from temperature change.
Reading Your Tire Sidewall: What the Numbers Mean
The sidewall of every tire contains a standardized code that tells you everything about the tire’s size, construction, and capabilities. Understanding this code helps you buy the correct replacement tires and understand what you currently have on your vehicle.
Example: P215/65R17 98H
The Letter Prefix: Tire Type
P stands for Passenger vehicle tire. You may also see LT (Light Truck), T (Temporary spare), or no prefix at all on European-metric tires.
The Three-Digit Number: Section Width
215 is the section width of the tire in millimeters — measured from sidewall to sidewall at the widest point when properly mounted and inflated. A wider tire has more road contact but also more rolling resistance.
The Two-Digit Number After the Slash: Aspect Ratio
65 is the aspect ratio — the height of the tire’s sidewall expressed as a percentage of the section width. A 65 aspect ratio means the sidewall height is 65% of 215mm, or approximately 140mm. Lower aspect ratio numbers (like 40 or 45) indicate short, stiff sidewalls typical of performance tires. Higher numbers indicate taller sidewalls that absorb bumps better.
The Letter After the Aspect Ratio: Construction
R stands for Radial, which is the construction type of virtually all modern passenger tires. Radial tires have steel belts running perpendicular to the direction of travel beneath the tread.
The Number After R: Rim Diameter
17 is the diameter of the wheel rim the tire is designed to fit, measured in inches. A tire labeled R17 only fits on a 17-inch wheel.
The Load Index: Weight Capacity
98 is the load index — a standardized code that corresponds to the maximum weight each tire can support when properly inflated. A load index of 98 corresponds to approximately 1,653 pounds per tire. Always replace tires with a load index equal to or greater than the original.
The Speed Rating: Maximum Speed
H is the speed rating, indicating the maximum sustained speed the tire is designed to handle safely. H-rated tires are rated to 130 mph. Common speed ratings include S (112 mph), T (118 mph), H (130 mph), V (149 mph), and W (168 mph). Your replacement tires should match or exceed the speed rating of your original equipment tires.
Other Markings on the Sidewall
- DOT code: A Department of Transportation identification number that includes the manufacturing date. The last four digits indicate the week and year of manufacture — for example, “2422” means the 24th week of 2022. Tires older than six years should be inspected by a tire professional, and tires older than ten years should be replaced regardless of tread depth.
- UTQG ratings: Treadwear, traction, and temperature resistance grades established by the National Highway Traffic Safety Administration. A treadwear grade of 300 means the tire lasts approximately three times as long as a reference tire.
According to the National Highway Traffic Safety Administration’s tire safety resource, proper tire maintenance — including regular pressure checks and knowing when to replace tires — is one of the most impactful things drivers can do for road safety. The Rubber Manufacturers Association’s tire safety website also provides accessible guidance on tire inspection, pressure, and replacement timing for everyday drivers.
Tread Depth: The Quick Penny and Quarter Test
While you are checking tire pressure, check tread depth as well. Insert a penny into the tread groove with Lincoln’s head pointing into the tire. If you can see all of Lincoln’s head, the tread is worn to 2/32 inch or less and the tire should be replaced. For a more conservative check, use a quarter: if you can see the top of Washington’s head, the tread is at 4/32 inch or less — still legal in most states but worth replacing before winter driving conditions.
Spending five minutes on tire pressure and a quick visual inspection once a month is one of the simplest, cheapest, and most effective things you can do to protect yourself on the road.
 blogged