How to Clean Dryer Vents Safely and Know When to Call a Pro
Learning how to clean dryer vents is one of the most important home maintenance tasks that most households consistently skip. Clothes dryers are involved in roughly 6,400 residential fires each year in the United States, according to the U.S. Consumer Product Safety Commission (CPSC), causing approximately 180 injuries and nearly $105 million in property damage annually. The leading cause is not a mechanical defect — it is failure to clean. Lint accumulates in the vent duct and inside the dryer chassis over time, and when airflow becomes restricted enough, the dryer overheats and the highly flammable lint ignites. This guide explains how lint buildup causes fires, what the warning signs look like, how to clean your dryer vent yourself, what tools you need, and how to identify when the job requires a professional.
Why Lint Buildup Is a Serious Fire Hazard
Lint is composed of tiny fibers that separate from clothing and linens during drying — primarily cotton, polyester, and other natural or synthetic fabric particles. These fibers are extremely flammable. As they accumulate in the lint trap, the transition duct connecting the dryer to the wall, and the exhaust duct running through the wall or floor to the exterior, they create both a blockage and a fuel source.
When airflow through the duct is restricted, two dangerous conditions develop simultaneously. First, the dryer’s internal temperature rises because hot, moist air cannot escape efficiently. Second, the accumulated lint in the restricted duct is now exposed to elevated heat. If the dryer’s high-limit thermostat fails — or if temperatures become extreme enough — lint ignites. The fire can then travel through the duct and into the wall cavity, where it spreads rapidly and without visible warning.
The U.S. Fire Administration (USFA), which tracks home fire data through the National Fire Incident Reporting System, has identified failure to clean as the leading factor contributing to clothes dryer fires in U.S. homes, accounting for 31 percent of dryer fire incidents in its most recent multi-year study. The USFA’s appliance fire safety guidance cites this data and recommends that lint screens and exhaust vents be cleaned regularly as the primary prevention measure.
The CPSC’s research has further documented that lint can accumulate inside the dryer chassis itself — not just in the vent — and that even when the lint screen and exhaust duct appear clean, lint inside the dryer cavity can ignite under the right conditions. This is why professional cleaning of the dryer interior is recommended periodically in addition to regular duct cleaning.
Warning Signs That Your Dryer Vent Is Clogged
A blocked or partially blocked dryer vent produces several recognizable warning signs that typically appear gradually rather than all at once:
- Longer drying times: If a load of laundry that previously dried in 45 minutes now takes 60 to 75 minutes, restricted airflow is the most common cause. The dryer is working harder but moving less hot air through the drum.
- Clothes are unusually hot at the end of a cycle: When the exhaust duct is restricted, heat builds up inside the drum. Clothes that feel very hot — rather than warm — when you remove them are a signal that heat is not escaping properly.
- The dryer itself is hot to the touch on the outside: Exterior heat on the dryer housing indicates that heat is not being efficiently exhausted through the vent.
- A burning smell during or after drying: A burning or musty odor while the dryer is running, or immediately after a cycle, can indicate lint overheating inside the vent or dryer. Do not ignore this sign — stop using the dryer and inspect the vent and lint trap before continuing.
- The laundry room feels unusually hot or humid: If warm, moist air is escaping into the laundry room rather than exhausting to the outside, the vent duct may be disconnected, crushed, or blocked.
- The outdoor vent flap does not open during operation: The damper or flap on the exterior vent termination should open whenever the dryer is running. If it does not move — or barely moves — the duct may be blocked or the flap may be stuck closed by lint, debris, or a bird nest.
- Visible lint accumulation around the dryer or at the outdoor vent: Lint collecting behind the dryer, around the transition duct connection, or at the outdoor exhaust cap indicates that lint is not moving through the system as it should.
Any of these warning signs warrants a vent inspection and cleaning before continued use. A combination of two or more of these signs is a strong indicator of a significant blockage.
How Often to Clean Dryer Vents
The standard recommendation from the CPSC, USFA, and the National Fire Protection Association (NFPA) is to clean the exhaust duct and vent at least once per year. This annual baseline applies to households using the dryer at typical frequency — roughly five to seven loads per week for a family household.
Several factors warrant more frequent cleaning:
- High-volume use: Households doing laundry daily, or with more than five people, accumulate lint faster and may need cleaning every six months.
- Longer or more complex duct runs: Ducts that travel more than 15 to 20 feet, or that include multiple 90-degree bends, restrict airflow more significantly and accumulate lint faster at each bend.
- Flexible foil or plastic duct: These duct types have corrugated interiors that trap lint at every ridge. They accumulate lint much faster than smooth rigid metal duct and require more frequent inspection and cleaning.
- Pets in the household: Pet hair sheds into laundry and passes through the lint screen in large quantities, accelerating lint accumulation in the duct.
- New dryer or recent installation: A new installation may have been connected incorrectly or with suboptimal duct routing. Inspect the installation and clean the vent after the first few months of use.
The lint screen inside the dryer should be cleaned before or after every single load — not annually. The annual cleaning schedule applies to the exhaust duct and external vent, which require more effort to access but accumulate blockages invisibly over time.
Tools You Need to Clean a Dryer Vent
Basic dryer vent cleaning for a straightforward, accessible duct run requires relatively simple tools:
- Dryer vent cleaning brush kit: A long flexible brush designed specifically for dryer vent ducts, typically sold with extension rods that allow it to reach 12 to 24 feet into the duct. Choose a brush diameter sized for standard 4-inch duct.
- Vacuum with hose attachment: A household vacuum with a long hose or a shop vacuum is used to remove loosened lint from the dryer opening, the transition duct, and the area behind the dryer.
- Screwdriver or nut driver: To loosen the clamp or connector securing the transition duct to the dryer exhaust port.
- Flashlight or work light: To inspect the interior of the dryer opening and the duct entrance point.
- Foil tape or duct clamps: To reseal connections after cleaning. Note that standard gray duct tape is not appropriate for dryer vents — it loses adhesion under heat. Use metallic foil tape or mechanical clamps.
For longer duct runs, ducts that terminate on the roof rather than a side wall, or situations where a professional-grade drill-powered cleaning system is required to clear a compacted blockage, the basic kit may not be sufficient.
Step-by-Step: How to Clean a Dryer Vent
- Unplug the dryer from its power source. For gas dryers, also turn off the gas shutoff valve behind or beside the dryer. Safety before any other step.
- Pull the dryer away from the wall enough to access the duct connection at the back of the machine. Take care not to overstretch or kink the gas line if applicable.
- Disconnect the transition duct from the dryer’s exhaust port by loosening the clamp or connector. Set the transition duct aside.
- Vacuum the dryer exhaust port opening and the interior of the transition duct using the vacuum hose attachment. Remove visible accumulated lint.
- Insert the dryer vent cleaning brush into the wall duct opening and work it through the duct using the extension rods, rotating as you push. Work from the dryer end toward the exterior if possible. Lint will be pushed toward the exterior vent or loosened and pulled back by the brush.
- Vacuum the duct from the interior end to remove loosened lint.
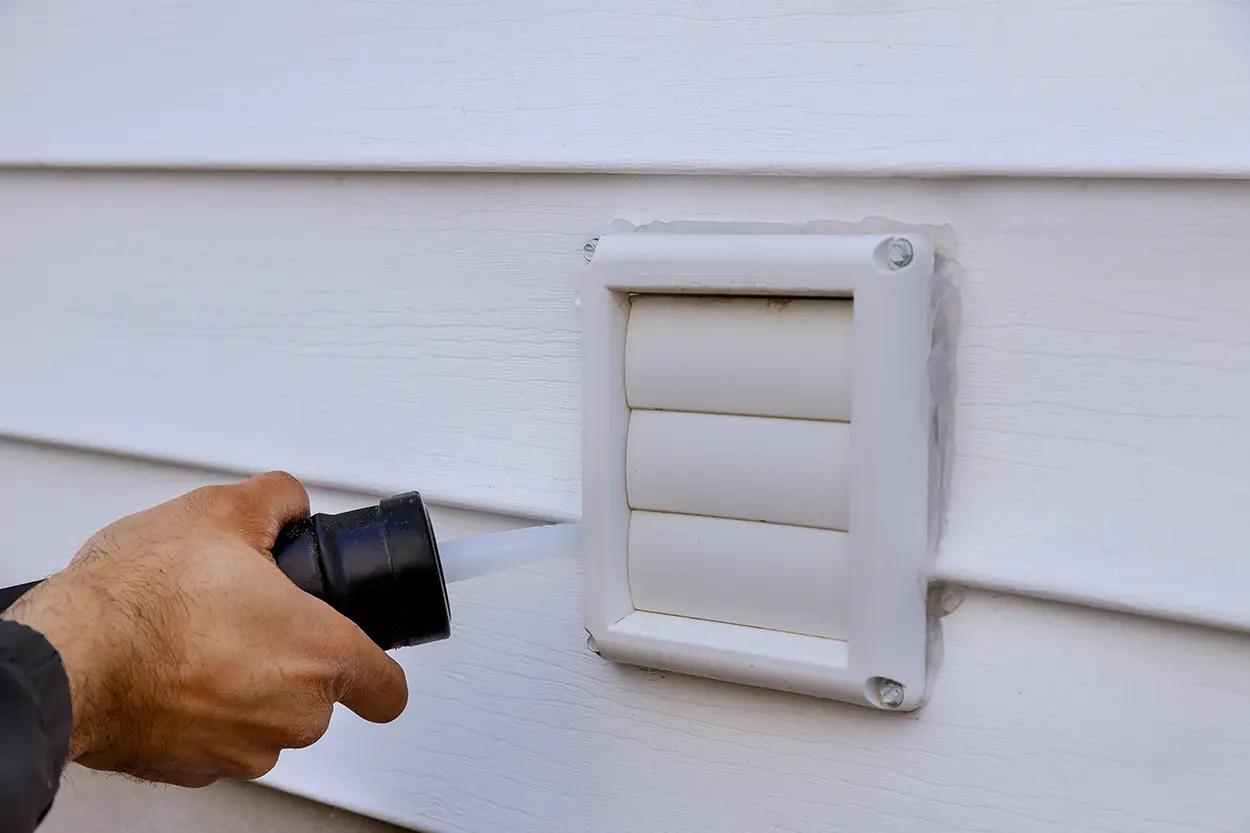
- Check the exterior vent termination. Go outside and remove any lint, debris, leaves, or obstructions from the vent cap. Check that the damper flap opens freely. Clear any animal nests from the vent opening.
- Reconnect the transition duct securely using the original clamp or a new one. Seal any joints with foil tape or clamps — not standard duct tape.
- Clean behind and under the dryer with the vacuum before pushing the dryer back. Lint accumulates on the floor and behind the machine and is a secondary fire risk.
- Restore power (and gas, if applicable) and run the dryer on a short cycle. Go outside and confirm that the exterior vent flap opens and you can feel warm air exhausting. If it does not, recheck the duct connection and inspect for remaining blockage.
Duct Type and Why It Matters for Safety
The type of duct material used to connect your dryer to the wall duct system has a direct impact on fire risk. The CPSC’s dryer fire prevention guidance specifically recommends replacing flexible plastic or foil accordion-type transition ducts with rigid or corrugated semi-rigid metal duct. This is not a minor preference — it is a safety recommendation based on documented fire incidents.
Flexible plastic ducts are flammable. If lint inside a plastic duct ignites, the duct material itself becomes fuel. Flexible foil ducts are non-combustible but have ridged interiors that trap lint at every corrugation and can sag or kink, creating low points where lint accumulates rapidly. Rigid aluminum or steel duct has smooth interior walls that allow lint to be carried to the exterior by airflow rather than settling at obstructions, and it does not contribute fuel in the event of ignition.
If your dryer is currently connected to the wall via a flexible plastic or corrugated foil transition duct, replacing it with rigid metal duct is a straightforward and low-cost safety improvement that substantially reduces fire risk.
When to Call a Professional Dryer Vent Cleaner
Professional dryer vent cleaning is the right choice in several circumstances:
- Duct runs over 25 feet or with multiple 90-degree bends: Long or complex duct runs are difficult to clean thoroughly with a basic brush kit. Professional technicians use powered rotating brush systems that clean more aggressively and can navigate bends that hand-operated tools cannot reach effectively.
- Roof-terminated vents: Vents that exit through the roof rather than a side wall require working at height. If you are not comfortable on a ladder on a roof, this is a job for a professional.
- Ducts concealed in walls or floors: When the duct is fully embedded in construction and cannot be accessed for inspection or manual cleaning, a professional with a camera inspection system can assess blockage without destructive access.
- Persistent warning signs despite recent cleaning: If your dryer continues to run hot, take longer than normal, or smell of burning after you have cleaned the accessible duct, there may be a blockage in a section you cannot reach, or a mechanical fault in the dryer itself that warrants professional evaluation.
- Interior dryer chassis cleaning: Cleaning lint from inside the dryer cabinet — behind the drum and around the heating element housing — requires partial disassembly of the dryer. This is best left to a technician unless you are comfortable with appliance repair and have access to the manufacturer’s service manual.
- Bird or rodent nests in the exterior vent: Nests can extend well into the duct and are difficult to remove entirely without professional tools. They also warrant inspection of whether the exterior cap needs replacement or a pest deterrent.
Professional dryer vent cleaning typically costs $75 to $175 for a standard residential cleaning, with higher costs for long runs, roof access, or video inspection. Annual professional cleaning is a reasonable choice for households with complex installations or limited ability to perform the cleaning themselves. For straightforward installations, alternating between DIY cleaning one year and professional cleaning the next is a practical approach that keeps both costs and risk manageable.
After Cleaning: Maintaining a Clean Vent System
Cleaning the vent duct once is not a permanent solution — it is the beginning of a maintenance routine. After completing a cleaning:
- Record the date of cleaning and set a calendar reminder for the next annual cleaning.
- Clean the lint screen before or after every single load of laundry, not on a monthly or weekly basis. The lint screen is the first line of defense against duct blockage.
- Check the exterior vent cap for obstruction after storms, in early spring when birds are nesting, and after periods of heavy wind that can carry debris into the opening.
- Monitor drying times. If a single load that previously took 45 minutes begins taking noticeably longer, inspect the vent before the next scheduled cleaning rather than waiting.
- Do not run the dryer while you are away from home or asleep. This recommendation from both the NFPA and USFA is specifically about dryers because dryer fires can develop and spread quickly. Running the dryer only when someone is awake and present allows early detection.
A functioning smoke alarm in or near the laundry room provides an important additional layer of protection. Even with diligent vent maintenance, mechanical failures can occur — a working smoke alarm gives you early warning that allows evacuation and a call to emergency services before a small fire becomes a catastrophic one.