Why Food Pantry Organization Pays Off Every Week
Food pantry organization is one of those household tasks that feels low-priority until the moment it is not — when you discover three opened bags of rice that have gone stale, buy a fourth can of tomatoes because you could not see the two already in the back, or realize the pasta you planned to use for dinner expired eight months ago. A well-organized pantry reduces food waste, saves money by preventing duplicate purchases, and makes meal planning and cooking significantly faster and less stressful. This guide walks through the principles and practical steps of setting up and maintaining a pantry system that works regardless of whether your pantry is a dedicated walk-in room, a few cabinet shelves, or a small closet.
The Core Principles of Pantry Organization
Before moving anything, it helps to understand the principles that make pantry systems work long-term:
- First In, First Out (FIFO): Always place new purchases behind older items of the same type so older food is used first. This is the same inventory rotation method used in commercial food service and is the single most effective habit for reducing food waste in a home pantry.
- Like with like: Group the same categories of food together — all canned goods together, all grains together, all baking ingredients together. This eliminates the need to search multiple sections when looking for a specific item and makes it immediately obvious when stock is running low.
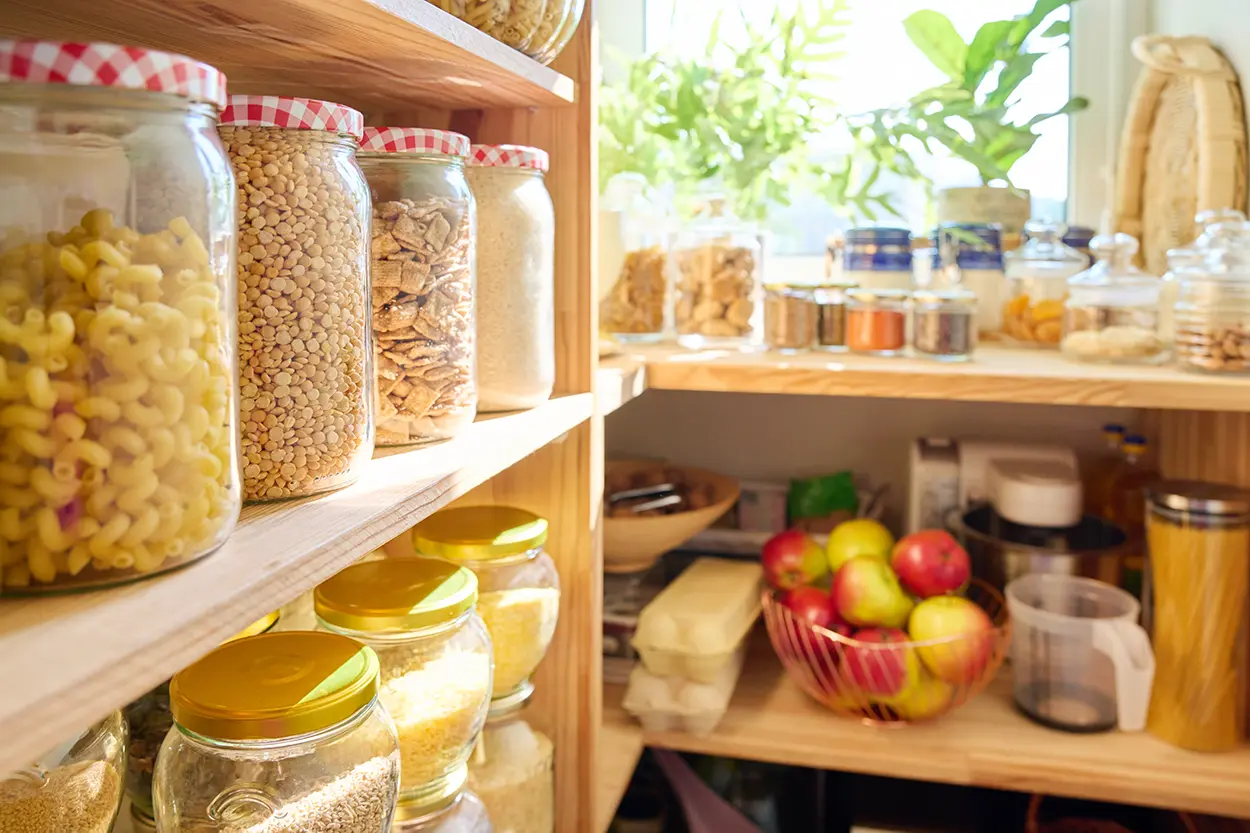
- Visibility: Items you cannot see do not get used. Short containers in the back behind tall boxes effectively disappear. Organizing by height (shorter items in front) and using shallow shelving or pull-out drawers addresses this problem.
- Accessible placement: The most frequently used items should be at eye level and within easy reach. Reserve high shelves for bulk backup stock and low shelves for heavier items and appliances.
Step 1: Empty and Audit Everything
The most effective pantry overhaul starts with removing every item from every shelf. This is the only way to take a complete inventory, find things that have been pushed to the back for years, and establish a clean baseline.
As you remove items:
- Check expiration dates. The USDA Food Safety and Inspection Service provides guidance on food dating: most “best by” dates on shelf-stable items indicate quality, not safety — meaning the food is generally still safe to eat after the date but may be at reduced quality. However, items significantly past their date, visibly degraded, or in compromised packaging (dented, rusted, bulging cans) should be discarded.
- Set aside anything that is still within date but that you realistically will not use. Consider donating to a local food bank rather than letting it sit indefinitely.
- Note items you have multiples of — this often reveals purchasing patterns worth changing.
Once everything is out, wipe down all shelves with a damp cloth. This is the easiest time to clean a pantry properly and extends the interval before the next full cleaning is needed.
Step 2: Group by Category
Before returning anything to the shelves, sort everything you are keeping into categories. Common pantry categories for a typical household:
- Canned goods: Vegetables, fruits, beans, soups, tomato products, fish/tuna
- Grains and pasta: Rice, oats, pasta, noodles, quinoa, couscous
- Baking supplies: Flour, sugar, baking soda, baking powder, cornstarch, cocoa, vanilla extract, yeast
- Oils, vinegars, and condiments: Cooking oils, vinegars, soy sauce, hot sauce, Worcestershire, salad dressing
- Snacks: Crackers, chips, nuts, dried fruit, granola bars
- Cereals and breakfast items
- Spices and dried herbs (often better organized on a dedicated spice rack near the stovetop)
- Beverages: Coffee, tea, cocoa, drink mixes
- Backup staples: Bulk flour, extra paper goods, cleaning supplies
Your specific categories should reflect how you actually cook. A household that bakes frequently may need a larger, more granular baking section. A household that cooks primarily from canned and bottled goods needs more organized space for condiments. Build the system around your actual habits, not around what an idealized pantry looks like in a magazine.
Step 3: Assign Zones and Return Items to Shelves
With categories defined, assign specific shelf zones to each category. General placement principles:
- Eye level (most accessible zone): Daily-use items — cooking oils, canned goods used weekly, pasta, rice, cereals used at breakfast.
- Upper shelves: Backup stock, infrequently used specialty items, bulk flour or sugar in sealed containers. These items do not need daily visibility.
- Lower shelves: Heavy items (large cans, gallon containers of oil), appliances that live in the pantry, large bulk bags.
- Door organizers (if applicable): Small jars, spice packets, foil and plastic wrap boxes, snack bags.
When placing items back on shelves, apply the FIFO principle: new purchases go behind existing stock of the same item. For canned goods, some homeowners install simple can dispensers that automatically rotate stock — new cans are loaded from the back and dispensed from the front.
Step 4: Use Containers Strategically
Containers and bins are useful for specific pantry applications, but buying an entire set of matching containers without a plan can create more work than it solves. Use containers where they genuinely help:
- Open bags of grains, flour, and pasta benefit greatly from airtight containers, which prevent spills, pests, and staling. Clear airtight canisters or bins allow you to see the contents at a glance. Label containers with the item name and any specific type (all-purpose flour vs. bread flour).
- Snack items often come in bulky, space-inefficient bags. Decanting chips, crackers, and nuts into containers can reduce the volume they take up and prevent staleness after opening.
- Small items (spice packets, bouillon cubes, tea bags) benefit from grouped bin containers that prevent them from falling behind other items.
Clear containers are strongly preferred over opaque ones — pantry organization depends on visibility, and items in opaque containers tend to be forgotten in the same way they were forgotten in the back of a cabinet.
Labeling for Long-Term Maintenance
Labeling is what converts a one-time organization project into a system that family members can actually maintain. Labels should indicate:
- The category or zone name on each shelf or section (for shared pantries where multiple people put groceries away)
- Container contents, especially for decanted items where the original packaging is discarded
- For opened bags or containers transferred to a different vessel, the original expiration date written on a piece of tape
A simple label maker produces clean, durable labels quickly. Handwritten labels on masking tape are entirely functional. The goal is that any household member can put away a grocery delivery correctly without looking for the right spot.
Reducing Food Waste Through Better Pantry Habits
The USDA estimates that the United States wastes between 30 and 40 percent of its food supply, with household-level food waste being a major contributor. According to the USDA’s food loss and waste resources, better storage practices and meal planning are two of the most actionable ways households can reduce their contribution to this waste. For guidance on safe food storage times and proper pantry conditions, the FoodSafety.gov food storage chart (a resource from HHS, USDA, and FDA) provides a reliable reference for shelf-stable, refrigerator, and freezer storage durations.
Practical habits that complement good pantry organization:
- Shop with a list based on a meal plan. Buying pantry items without a specific use in mind is the most common cause of unused staples that expire in the back of a cabinet.
- Do a weekly pantry check before making your grocery list. Note items that are running low and items that are nearing their best-by dates and need to be used soon.
- Create a “use it up” section for items near expiration. Placing these items at eye level on the front of a shelf makes them visible and prompts you to incorporate them into upcoming meals.
- Buy in bulk only for items you regularly use. Bulk purchasing of items you use infrequently often leads to waste, even when the per-unit price is lower.
Emergency Pantry Stocking
An organized pantry also provides a foundation for basic emergency preparedness. FEMA and Ready.gov recommend maintaining at least a 72-hour supply of shelf-stable food for your household. An organized pantry makes it easier to maintain this buffer stock, rotate it as you use items, and quickly assess what you have on hand during a power outage or other emergency.
Key shelf-stable foods for an emergency supply include canned proteins (tuna, chicken, beans), canned vegetables and fruits, whole grain crackers, peanut butter, and dried grains. Choose items your household already eats and rotate them as part of your normal pantry use.
Maintaining the System
The work of pantry organization is mostly in the initial setup. Maintenance requires only two practices: returning items to their assigned zones when putting away groceries, and a full reassessment two to four times per year to check dates, clear excess stock, and clean shelves. A pantry that gets a full review every season will not accumulate the forgotten-item problem that makes the initial organization feel overwhelming.