There are few modern frustrations more universal than a Wi-Fi network that cannot keep up. Videos buffer, video calls freeze, smart home devices go offline, and everyone in the household starts blaming each other. The problem is that slow Wi-Fi can stem from many different causes — your router placement, your equipment’s age, your ISP plan, interference from neighboring networks, or simply too many devices competing for bandwidth. Fixing it effectively means diagnosing the right cause rather than just restarting your router and hoping for the best.
This guide walks you through a systematic process for finding and fixing the actual source of your Wi-Fi slowdown. The Federal Trade Commission warns against router convenience features that come with security risks.
Step 1: Run a Speed Test — The Right Way
Before you change anything, measure what you are actually getting. Use a free tool like the one at the FCC’s Measuring Broadband America program or a reputable third-party speed test. Run the test in two ways:
- Wired: Connect your laptop directly to your router with an Ethernet cable and run the test. This tells you the true speed your ISP is delivering to your home.
- Wireless: Run the test from the same device over Wi-Fi, standing next to the router. Compare this number to the wired result.
If your wired speed is close to the speed you are paying for, the problem is in your Wi-Fi network. If your wired speed is also slow, the problem is with your ISP or modem, and you should contact your provider.
Step 2: Restart Your Router and Modem Properly
A proper power cycle is different from just pressing the restart button. Unplug your modem and router from power entirely. Wait a full 60 seconds. Plug the modem back in first and wait for it to fully connect (usually indicated by a stable light sequence). Then plug the router back in. This process clears temporary memory, refreshes IP assignments, and forces the devices to reconnect to the best available channels.
If your speed improves dramatically after a power cycle but degrades again within days or weeks, your router may have a memory leak and needs to be replaced.
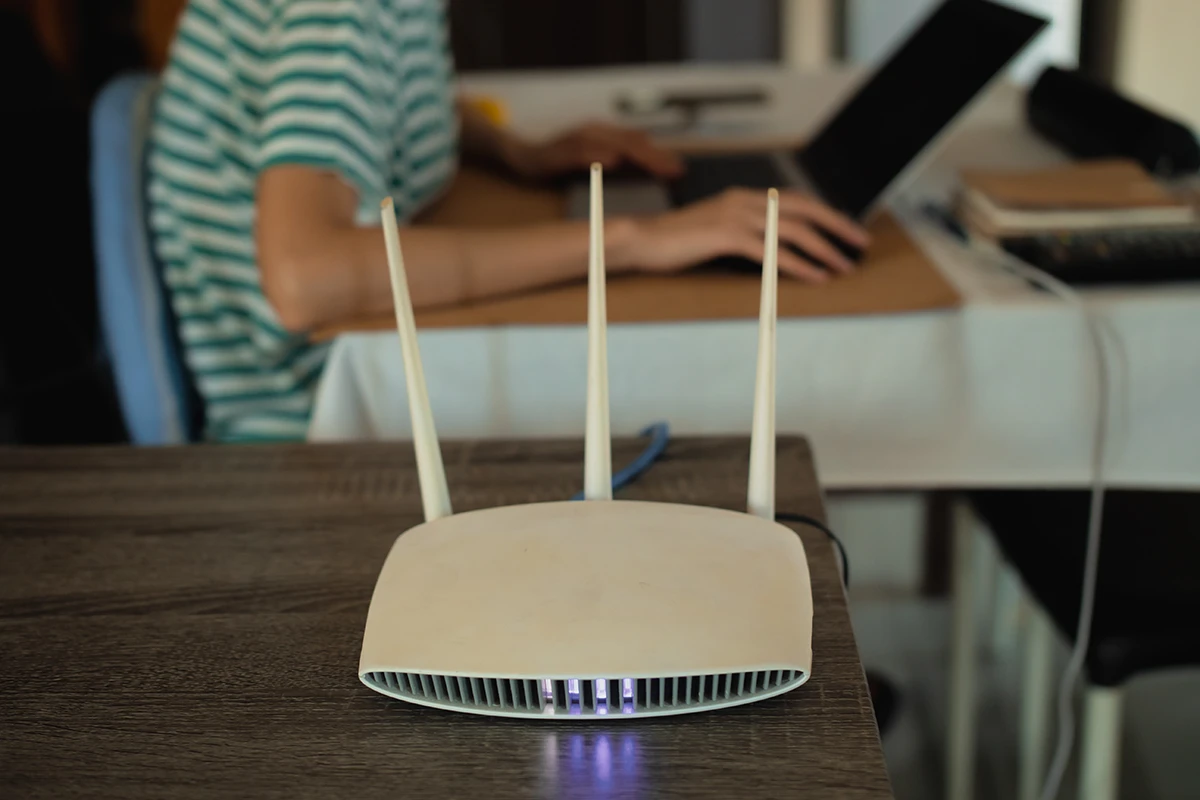
Step 3: Check Your Router’s Placement
Router placement is one of the most overlooked factors in Wi-Fi performance. Wi-Fi signals radiate outward in all directions and degrade through walls, floors, and interference. For best results:
- Place your router in a central location in your home, not in a corner or in a closet.
- Keep it elevated — on a shelf or desk rather than on the floor.
- Keep it away from large metal objects, microwaves, baby monitors, and cordless phones, all of which can cause interference.
- If your router has external antennas, position them vertically for best horizontal coverage across a single floor, or angle one sideways if you need to reach multiple floors.
Step 4: Use the Right Frequency Band
Most modern routers broadcast on two frequencies: 2.4 GHz and 5 GHz. Understanding the difference helps you connect devices to the right band.
- 2.4 GHz: Slower maximum speeds but travels farther and penetrates walls better. Best for devices in distant rooms or for smart home gadgets like bulbs and sensors that do not need high bandwidth.
- 5 GHz: Faster maximum speeds but shorter range. Best for devices in the same room or adjacent room as the router — laptops, streaming sticks, game consoles, and phones used for video calls.
Many routers broadcast both bands under the same network name, leaving it to the device to pick. You can separate them into two distinct network names (SSIDs) to manually control which band each device uses. If your phone connects via 2.4 GHz by default and you wonder why streaming is slow in the living room right next to the router, switching to the 5 GHz band may solve the problem immediately.
Step 5: Check for Channel Congestion
Wi-Fi operates on specific channels within each frequency band. If your neighbors’ routers are broadcasting on the same channel as yours, the signals compete and everyone’s performance suffers. This is especially common in apartment buildings and dense neighborhoods.
Most routers have a setting to automatically select the least congested channel, but the automatic selection is not always current. You can use a free Wi-Fi analyzer app on your phone or computer to see which channels nearby networks are using, then manually set your router to a channel with less competition. On the 2.4 GHz band, channels 1, 6, and 11 are the non-overlapping options — pick whichever is least crowded. On the 5 GHz band there are many more non-overlapping channels available.
Step 6: Update Your Router’s Firmware
Router manufacturers regularly release firmware updates that fix bugs, patch security vulnerabilities, and sometimes improve performance. Log in to your router’s admin interface (usually by typing 192.168.1.1 or 192.168.0.1 into your browser’s address bar) and check whether a firmware update is available. Many newer routers can be updated through a companion smartphone app. Keeping firmware current is also important for security — outdated router firmware is one of the most common ways home networks get compromised.
Step 7: Audit the Devices on Your Network
Every device connected to your Wi-Fi network competes for bandwidth. Log in to your router’s admin interface and look at the list of connected devices. You may find devices you forgot about — old smartphones, smart TVs, game consoles downloading updates in the background, or even unauthorized devices using your network.
- Remove or disable devices you do not recognize or no longer use.
- Check whether any device is performing a large download or backup. Cloud backup apps, operating system updates, and game downloads can consume enormous bandwidth and are often scheduled to run in the background.
- Some routers allow you to set Quality of Service (QoS) rules to prioritize bandwidth for specific devices or applications like video calls.
Step 8: Address Dead Zones
If your Wi-Fi signal simply does not reach certain rooms, you have several options depending on your home’s layout and budget:
- Wi-Fi range extender: A low-cost option that rebroadcasts your existing signal. Works well for simple layouts but can introduce latency and may cut your bandwidth in half at the extended location.
- Powerline adapters: Use your home’s electrical wiring to carry network data. Plug one adapter near your router and another near the area with poor coverage. Effective in homes where running Ethernet cable is not practical.
- Mesh Wi-Fi system: A set of multiple router-like nodes placed throughout your home that work together as a single network. Mesh systems provide the most consistent coverage in larger homes or homes with thick walls. They are more expensive but dramatically outperform extenders in both coverage and speed consistency.
- Wired Ethernet: For devices that stay in one place — desktop computers, game consoles, smart TVs — a wired connection always outperforms Wi-Fi. Running a cable through walls is a weekend project that can permanently eliminate dead zones for those devices.
Step 9: Consider Whether Your Equipment Is Outdated
Routers do not last forever. A router that is five or more years old may not support current Wi-Fi standards and may struggle to handle the number of devices in a modern home. Wi-Fi 5 (802.11ac) is now standard for most households; Wi-Fi 6 (802.11ax) offers meaningful improvements in congested environments with many devices. If your router is more than four or five years old and none of the above steps have solved your problem, replacing it is a reasonable investment.
The FCC’s consumer guide to home internet service provides useful background on how to evaluate internet and equipment options.
Step 10: Call Your ISP If Needed
If your wired speed test shows speeds far below what your plan promises, contact your internet service provider. Possible issues on their end include line degradation, neighborhood congestion during peak hours, or a modem that needs to be replaced. Ask the provider to check your line quality and signal levels remotely. Many providers will send a technician at no charge if there is a fault on their equipment or outside your home.
Quick Diagnostic Summary
- Wired speed slow: ISP or modem issue — call your provider.
- Wi-Fi slow everywhere even near the router: channel congestion, firmware issue, or aging equipment.
- Wi-Fi slow in specific rooms: placement, dead zones, or wrong frequency band.
- Wi-Fi was fine but recently got slow: new device consuming bandwidth, router memory issue, or neighboring network added interference.
Most home Wi-Fi problems are fixable without purchasing anything new. Working through these steps systematically — rather than jumping straight to buying new equipment — is almost always the fastest path to a solution.